Photoshop for web design – Etiquette tips

Photoshop for web design is used as much as for retouching and restoring photos, for creating graphics projects and other things. The program is universal and widely used in the whole world. Do you seriously take a great interest in retouching and restoring photos, but you do not know where to put your photo restoration samples? You can place them on your own website using our favorite Photoshop software! Now we'll figure out how to do it by yourself. We offer you the basic aspects, tips and tutorials for using Photoshop in a web design project.
10 rules of etiquette in Photoshop
In order to take the first step towards becoming a web designer, a young specialist should learn to work with some graphic editors and important applications and understand why use Photoshop for web design is better. Our article is devoted to the largest and most famous Adobe Photoshop, about which you can find out more here “10 facts about the history of Adobe Photoshop timeline”.
 The rules of etiquette mainly relate to the basic settings of the program itself, some actions in the process of work, tips for optimizing the workflow and saving time, a few tricks working with graphics, layers and various tools of Photoshop. All this must be followed for convenience, consistency and especially if you are engaged in preparing Photoshop files for web developers.
1. Introduce yourself, please
As cliché as it may sound, name not only the file, but also each layer. After all the layers are named, sort them into different folders. This allows you to work with a whole array of layers or quickly hide them all together. It would also be nice to assess whether there are no empty, space-consuming and memory layers. You can check this with the “Command + T”.

2. Comply with the procedure
How do you name the finished files? “01”, “New”, “Last”, “Ready”? Here is the structure of a good title in the work: “Name_Type_Size_Version”. You will look at the file and: “Name” will remind you of the customer; “Type” will indicate the purpose of the file. “Size” can be specified if the client asks for different variations. “Version” will become an option, because you may be asked for amendments. Do not delete your best works; use them as a template or personal Photoshop for web design tutorials, so as not to get confused every time.
3. Be in
Why create 10 layers and a mask for each individual layer, if you can assemble layers into a group and work with them through one mask? We work using our wits!

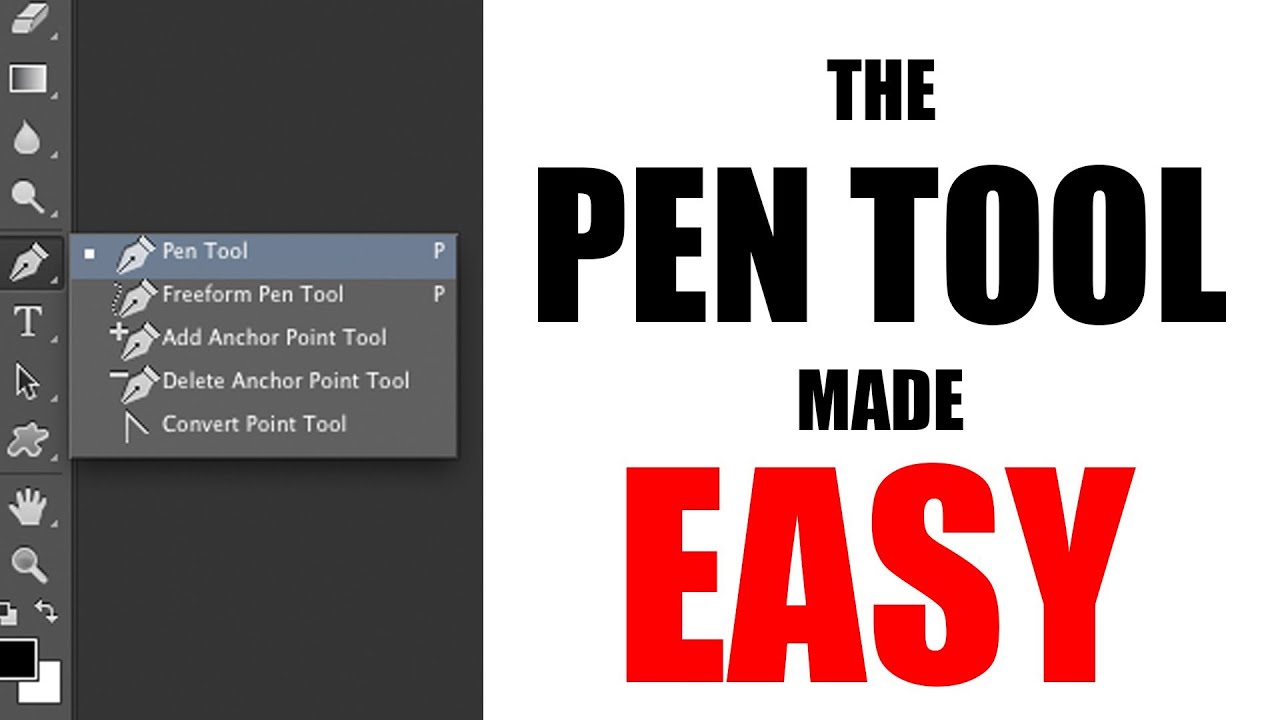
4. Keep writing implements with you
“Pen” for the designer is like a laser sword for the Jedi. The earlier and more confidently you will master this tool, the greater will be your strength. Do not forget to keep track of your best work done with it, so as not to sweat every time.
5. Do not enforce your taste
Do not stretch the text; do not stretch the figures, especially if they have rounded corners. There is a sense of everything separately drawn; otherwise both form and style will lose. You cannot stretch an image just shrink it to a smaller size. Same with the font. Always pay attention to the proportions.
6. Get in touch
The connection between the elements of the file is a good manner of the designer. Snap to grid, snap to pixels, snap to layer. This will provide you with precision, and the work will be easily perceived by eye.
7. Be graceful
The beginners have such unpleasant habit when preparing Photoshop files for web developers is to apply to each element of design any artsy effect. Overlay of colors, falling shadows, internal glow, inclinations and patterns, etc. But learn to correctly and moderately apply all these effects, the main task of which, of course, to create a certain style. If you need several layers to be affected by the same effect, copy and apply the same style to them.

8. Drop the vulgarity
After experimenting with styles and different effects, it would be nice to collect all the stuff that was not useful layers with disagreeable elements and throw them in one folder called “Unused” (or any other). In such a folder you can store items “in reserve”, suddenly the client does not like something, or want to change or add.
9. Write competently
Many designers are clumsy in spelling, so carefully check what you wrote. Make sure that the words are written according to the rules (and even slang), and that you and the work you have done will be accepted and understood. Write so that it is understandable and pleasant even for your beloved granny.

10. Be forehanded
After you have finished with the design, give everything that you used a special place: images, references, fonts, web files and text instructions; suddenly they come in handy.
 Following the etiquette of Photoshop at first will be difficult and inconvenient, especially when you are already used to acting in your own way. But you'll understand why use Photoshop for web design is more convenient, if only you go to them, the rules will save your time in the long run and more than once your honor will save.
How to use Photoshop for web design
 A powerful tool for editing images with additional photo restoration services. Adobe is one of the main elements in the world of web design. Very few programs can compete with this excellent software and its wide range of capabilities. But there are new ones that can be considered as a working tool, for example “Instagram photo editing strategies for photographers and digital artists”.
Nevertheless, while most web designers already know lots about Photoshop and know how to design a website in Photoshop step by step fast, there are constantly things that you need to learn. Since new things are regularly added through updates.
Are you ready to learn about program and how to design a website layout in Photoshop?
1. Adjust colors
The color settings used by designers in designing their projects are fairly simple. So, there are two most popular color schemes: RGB and CMYK.
If you know how to design a website layout in Photoshop, then you know that the sRGB color scheme, which was developed by HP and Microsoft Corporation, is more acceptable. Using this scheme, you can be sure that people will see in the browser very similar colors to those that you will use, creating your website design in Adobe Photoshop.

2. Set the size of the project files
The dimensions of the canvas on which you will create the design of your project will directly depend on the project itself. Usually the standard size of a website is considered to be a width of 1140 pixels, but it nice to have another 150 pixels on both sides. This will allow you to see the background of the page, the design of which you create. (The main thing in design, what matters to the web, is the size in pixels).
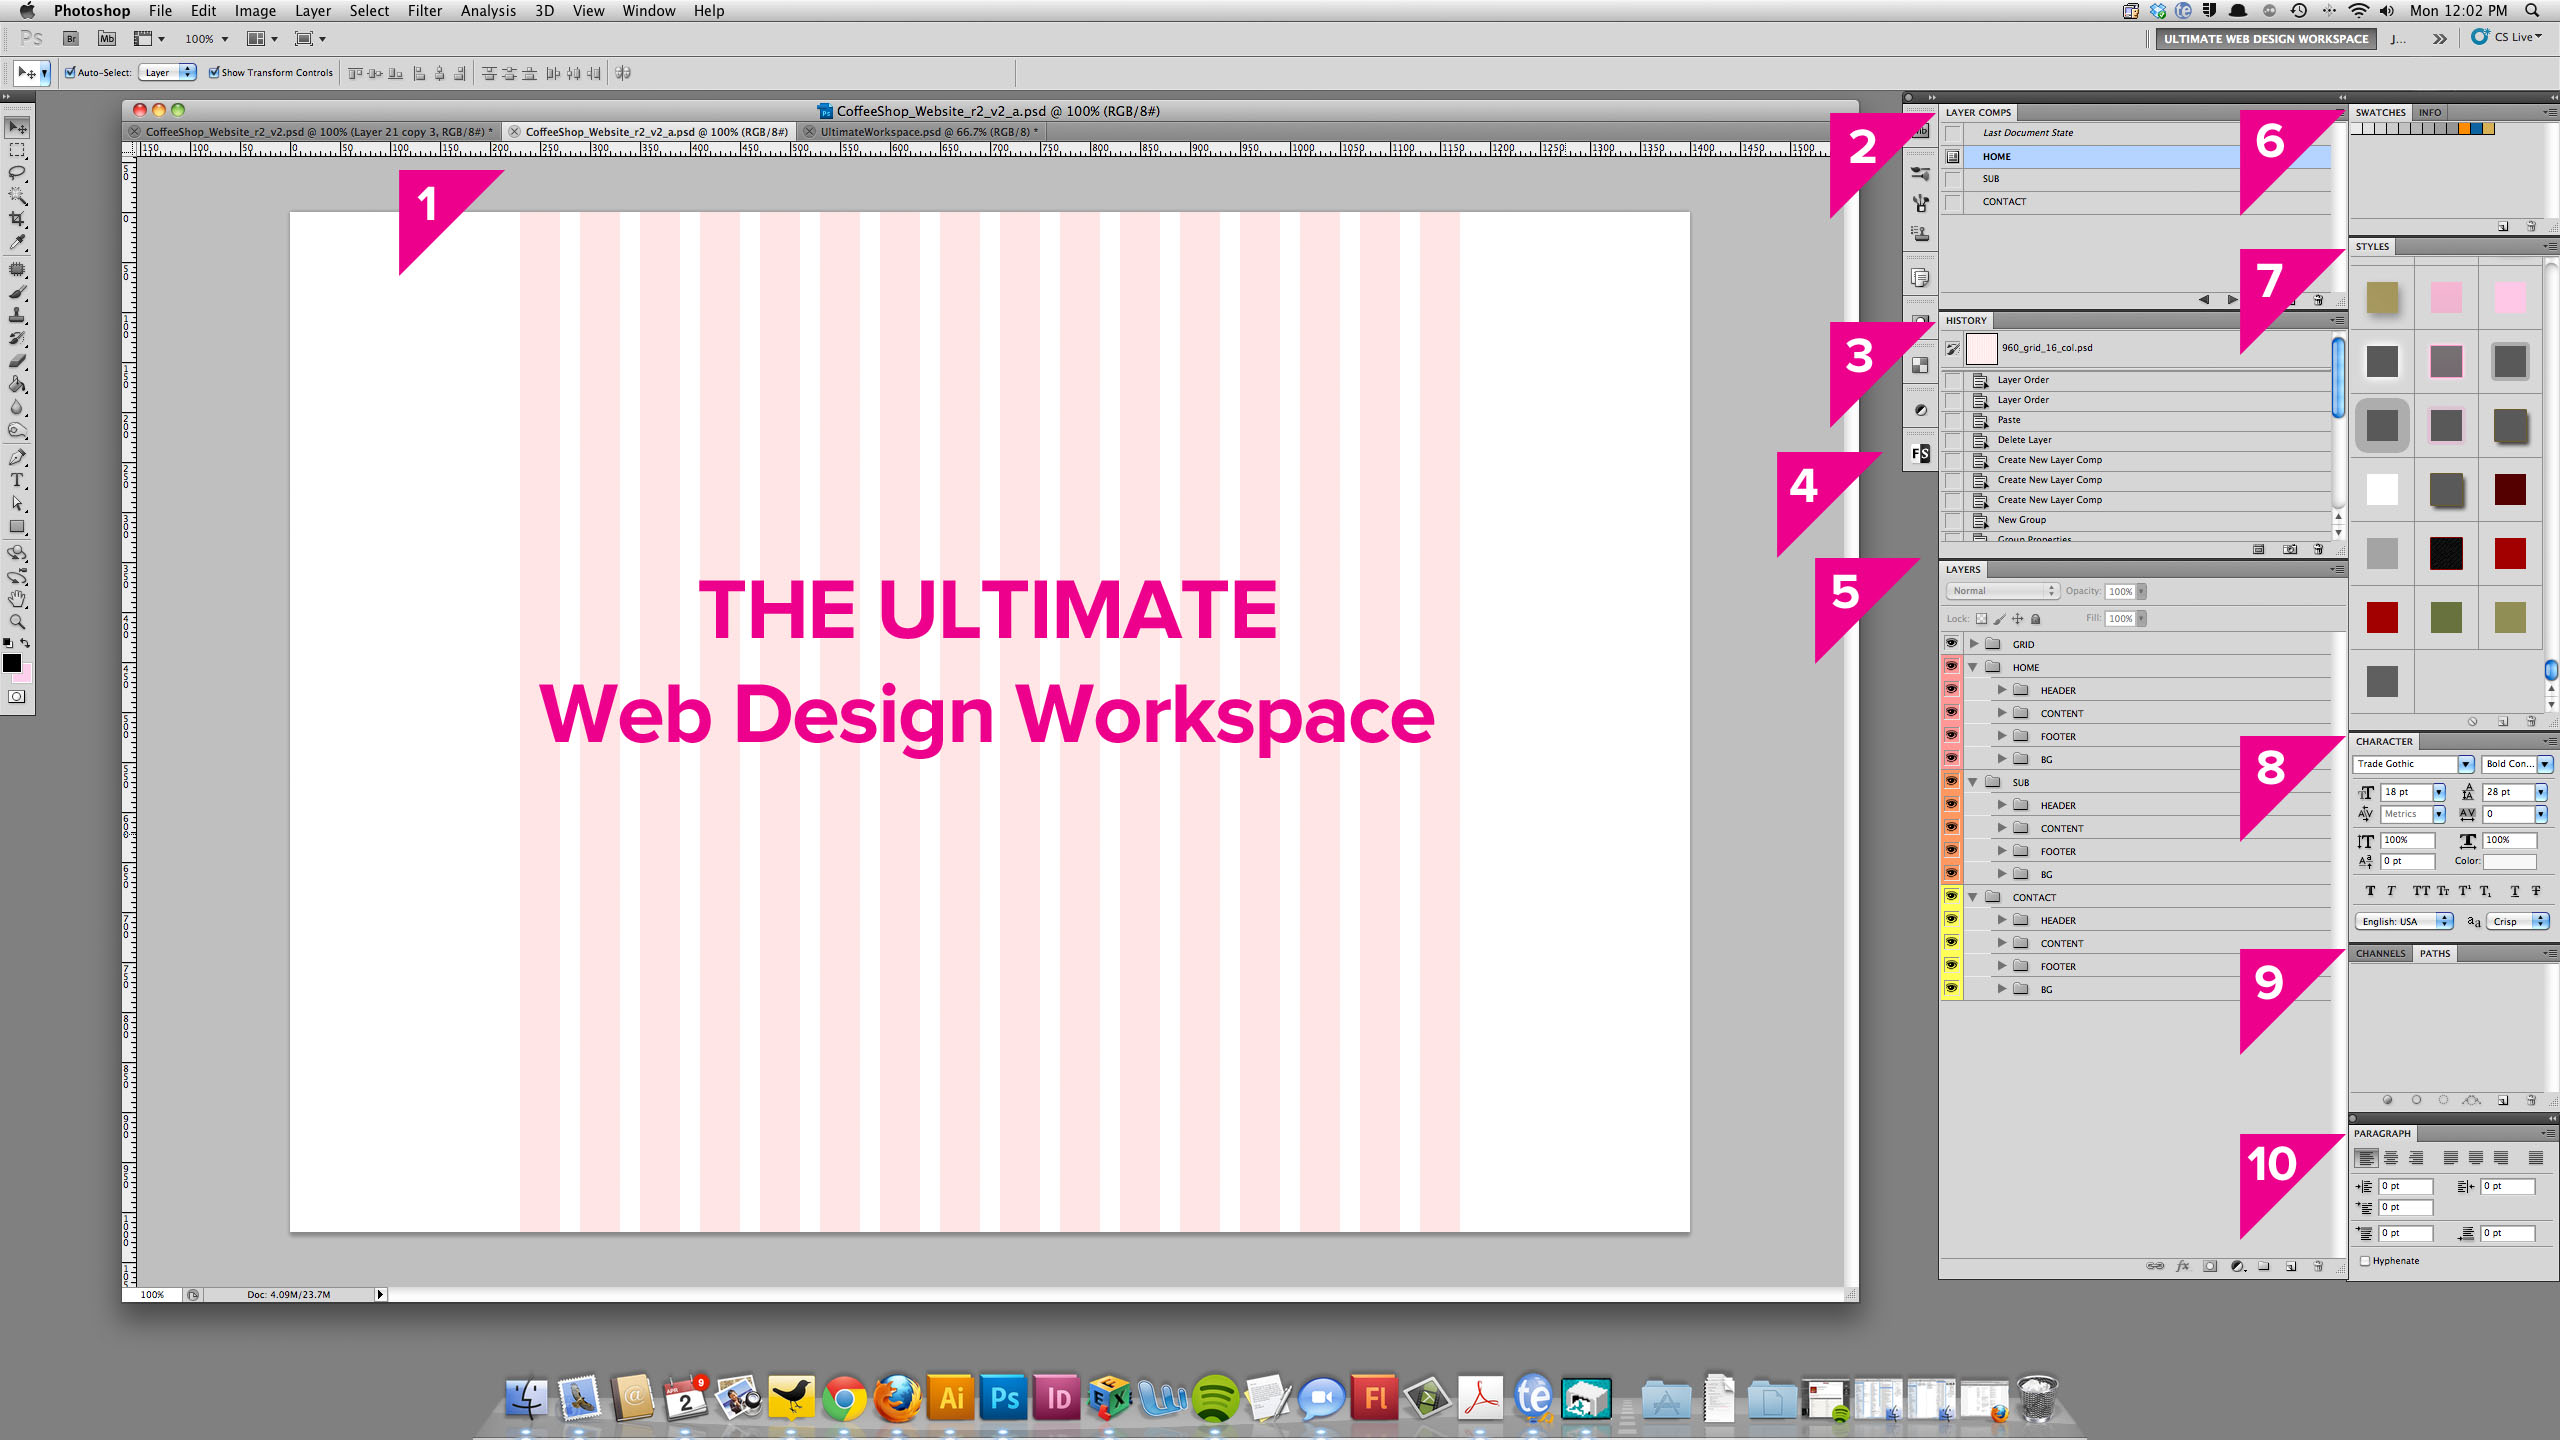
3. Customize the workspace in Photoshop
 In order to optimize your workflow, you need to correctly position the tools in the application. It would be a good idea to understand why use Photoshop for web design is better if you manually configure the panels, menus and set hotkeys. Software Adobe Photoshop allows you to create a large enough number of workspaces and gives you an opportunity to switch to one of them at any time you want. The less you use the windows, the more you can concentrate on the design.
So, let's look at the necessary windows.
Layers
This panel you will use much more often than others, so it should be large in size and easily accessible. The individual parts of the design are stored as separate layers. Thanks to this you will be able to adjust each of them separately.
Paragraph
With this panel you can edit the entire paragraph by setting the text width and number of spaces that you need.
Info
This window allows you to find out any information about the color palette and the dimensions.
Character
Here you can select a font, set its size, etc.
History
Your every movement is recorded in history. This will allow you in case of any error to undo the previous action or to create a copy of the current status of the work, and also to follow the procedure of your actions and create Photoshop for web design tutorials.
 Navigator
This window is usually used to quickly view the design.
Paragraph Styles
Here you can create typographic styles in the form of headings and paragraphs, which will facilitate their re-use.
Character Styles
This panel will help you define styles for links and specific words.
You can activate all these windows in the Window menu by clicking on them. Also you can distribute all the panels as you like and save them as a personal workspace, which you will use later.
4. Advanced presets of documents for popular devices.
You can create actions that allow you to generate a document for specific devices with already inserted interface elements for such a device. For example, preparing Photoshop files for web developers on Android automatically creates a document and adds menus, common controls, fields and guides.

5. Creating a modular grid for the site.
To simplify the work how to design a website in Photoshop step by step, the Modular Grid will become a very useful tool for the web developer. Using this tool, the developer can easily position the layout elements, individual design modules, observe proportionality, and also structure the image to enhance its aesthetics.
 A convenient solution to hide the guides of the modular grid allows you to work with small design elements.
Top 10 tutorials for designing photography websites in Photoshop
 To learn how to create powerful, successful websites, you need to hone your skills day by day and gradually improve your master. A specialist who knows how to design a website in Photoshop step by step can open his own web design studio or work in any company that wants to have a website. But first of all it's worth to go to the courses or go to Photoshop for web design tutorials. The point is that a visual demonstration of the sequence of actions in the work on the graphic sources will be much more effective than the dry theory stated in the text format.
Therefore, boldly grab for a moment and look at a useful selection of work in Photoshop for web design. Starting with the basics and continuing on the following topics:
1. Important Photoshop settings
From this video “Photoshop Web Design Tutorial Series Customizing Your Workspace” you will learn how to properly set up Photoshop for web design and how to create a simple button, which is convenient to use the workspace settings, etc.
2. Grid for the sect of web designers
Why do we need a modular grid and how to draw it in Photoshop? You will learn from this video “Adobe Photoshop | Web Design Grid Tutorial”.
3. “Top 5 Web Design Mistakes | Design Mistakes I Have Made A Lot”
In this video, we analyze the main errors that all novice web designers allow, try to avoid it.
4. How to choose photos for the site.
In this video clip “How to Master Smart Objects in Photoshop” we will learn how to properly edit photos for web designer layouts.
5. “25 Photoshop Tips, Tricks & Shortcuts You Probably Did not Know”
We will analyze some stuff that will speed up the work of any web designer: how to quickly change the image, how quickly to remove the character from the photo and how to use smart objects and much more.
6. “Photoshop CC for Web Design (Adjusting Photoshop color settings)”
Choosing a color scheme plays an important role in creating a website.
7. Workspace setup
We talked about optimizing the workspace, see how to do it: “The Ultimate Web Designer Workspace Setup In Photoshop | XO PIXEL”.
8. One page design
General style, the appropriate color scheme and work with layouts all this is described in this video “One Page Website Design Tutorial In Photoshop”.
9. How to design a website layout in Photoshop?
The answer to the question in this video “Web design tutorial: How to design Website in Photoshop”.
10. The most popular tips and trends in web design
The 7 Graphic Design trends you should expect in 2017!”
If desired, each newcomer will turn into a professional, able to work with complex and intricate elements, and most importantly make web design a matter of life!
As for our services, our photo restoration prices are always acceptable, and the range of services is quite extensive, as we always try to be in the trend, we expand our capabilities and help you in creating your site, namely, clear and quality content in the form of beautifully retouched photos .
Ask for help and appreciate your time!
Tell you friends about this article!

Would you rate the article?
The article has a rating of:
|
| Via Facebook: |
| Via Disqus: |