How to fix a ripped photo in Photoshop

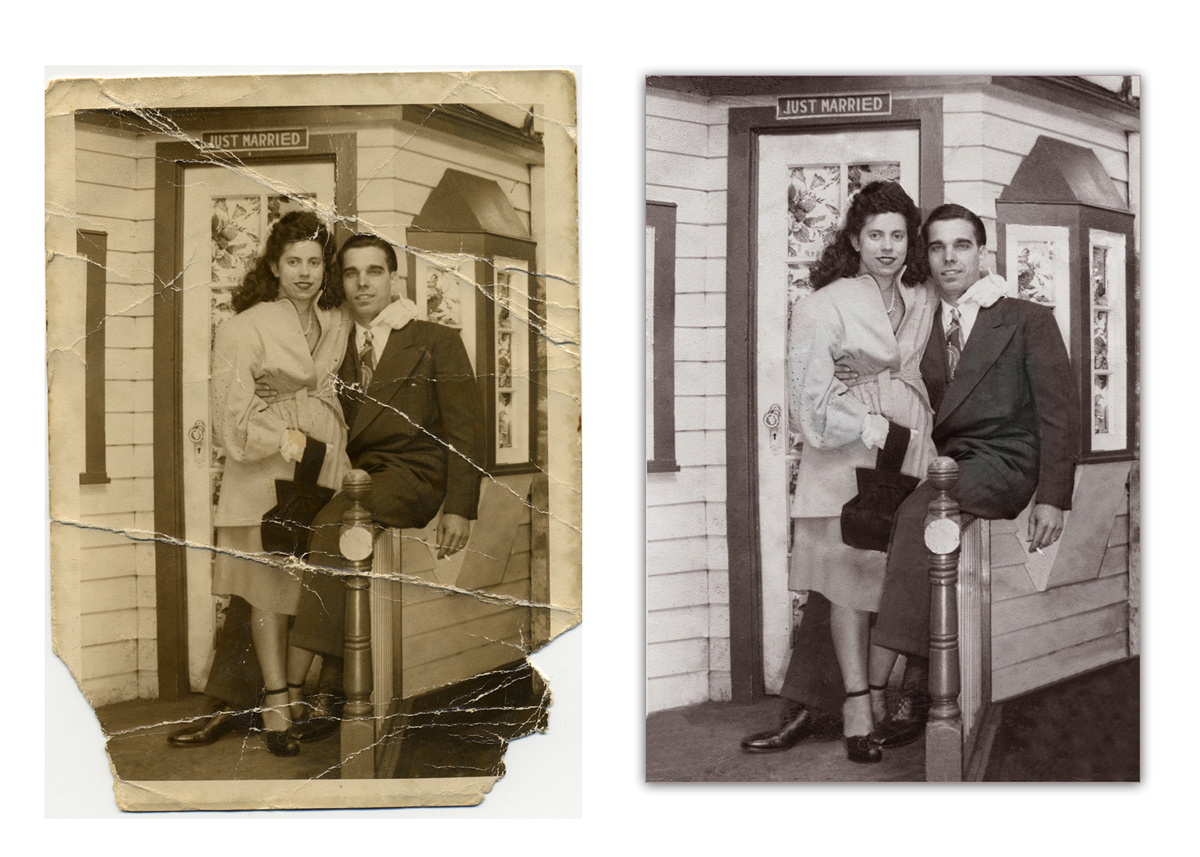
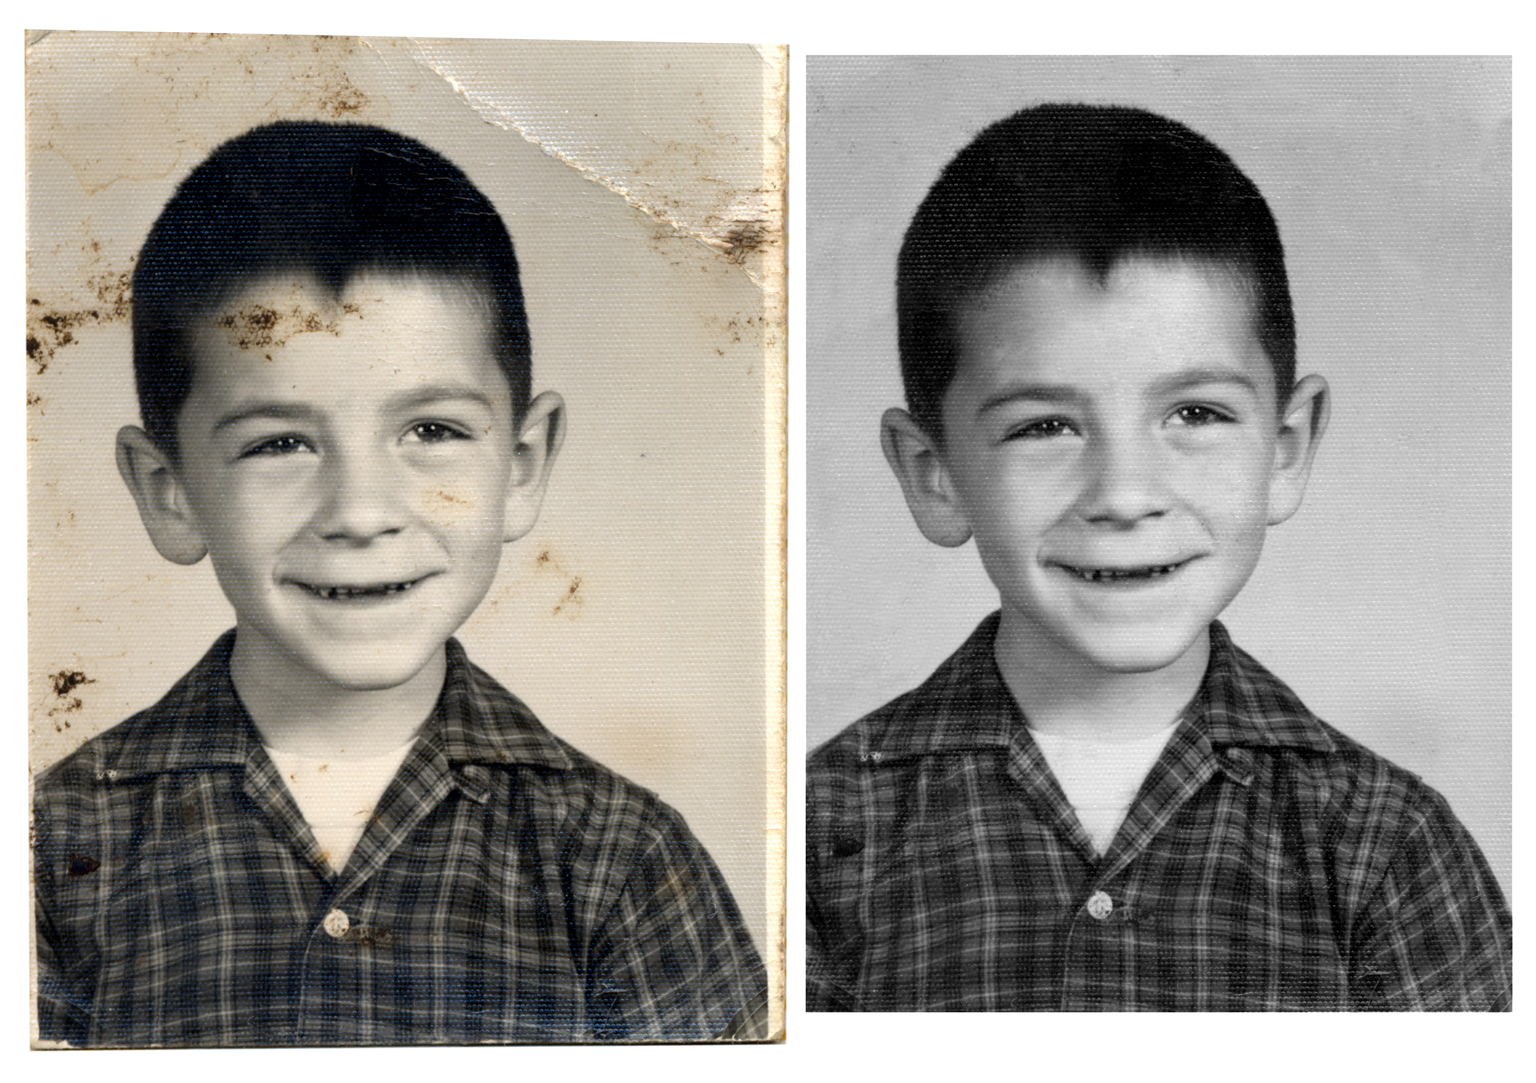
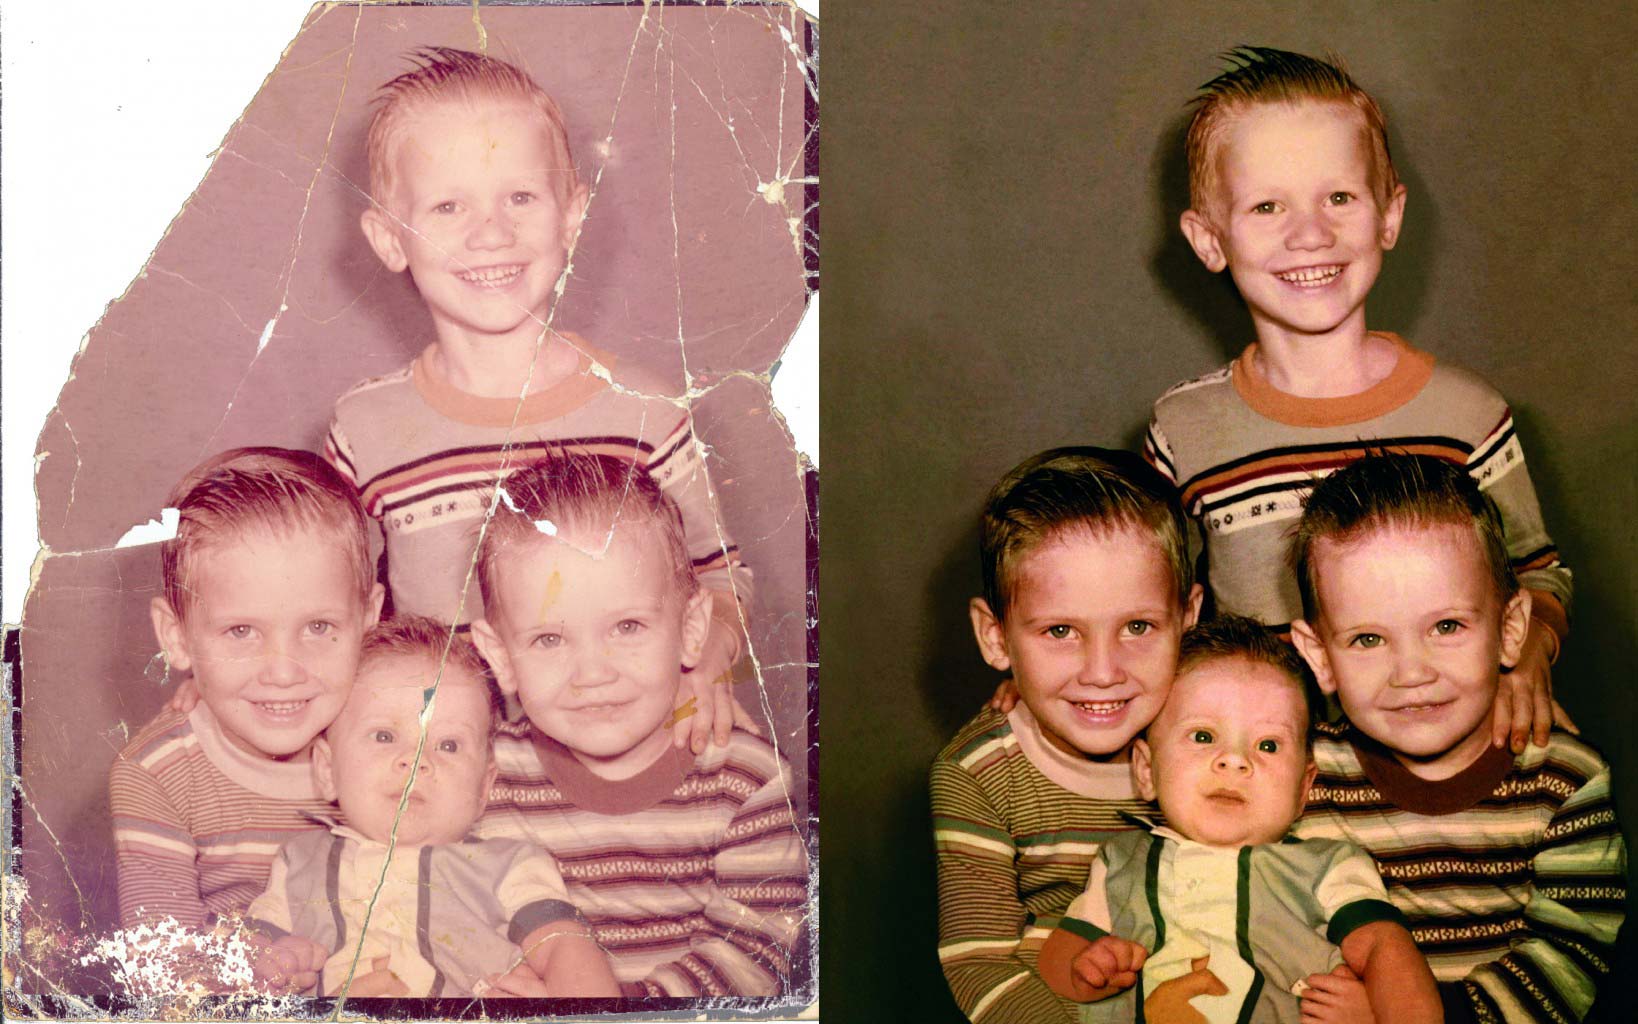
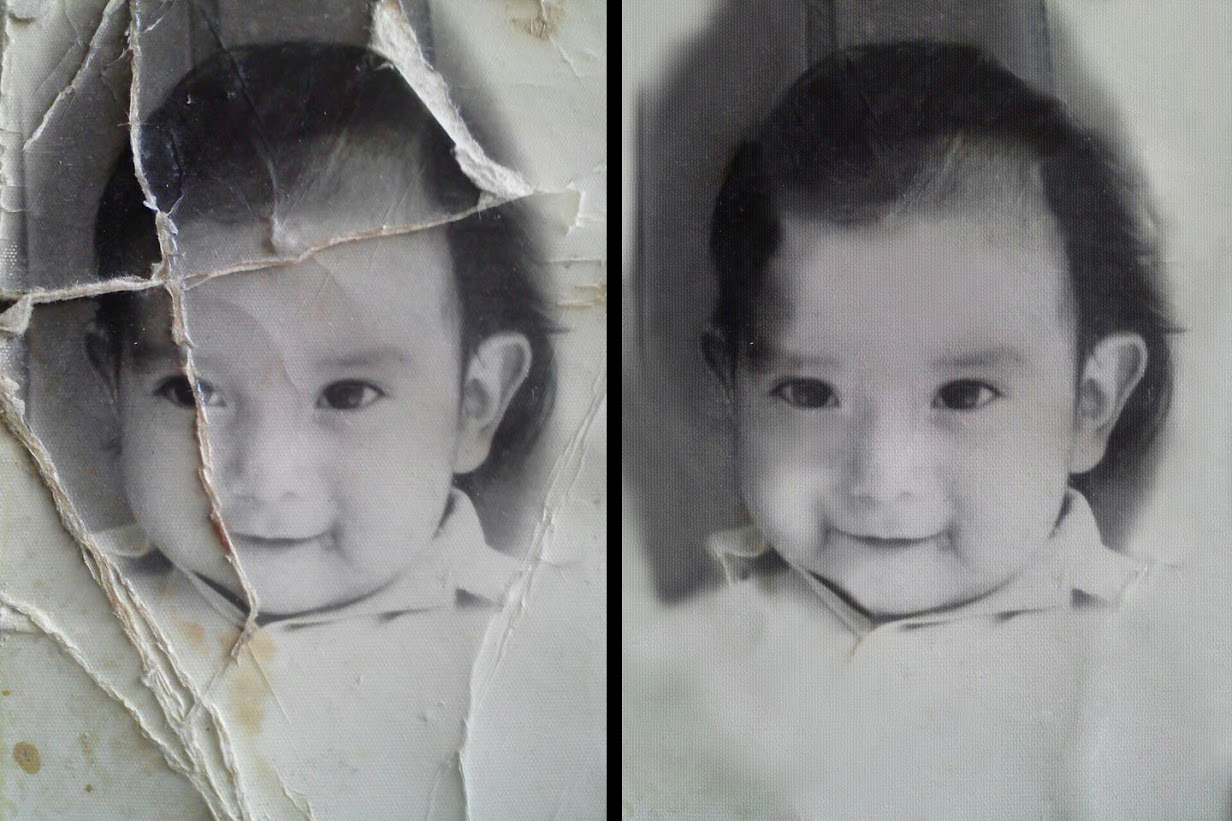
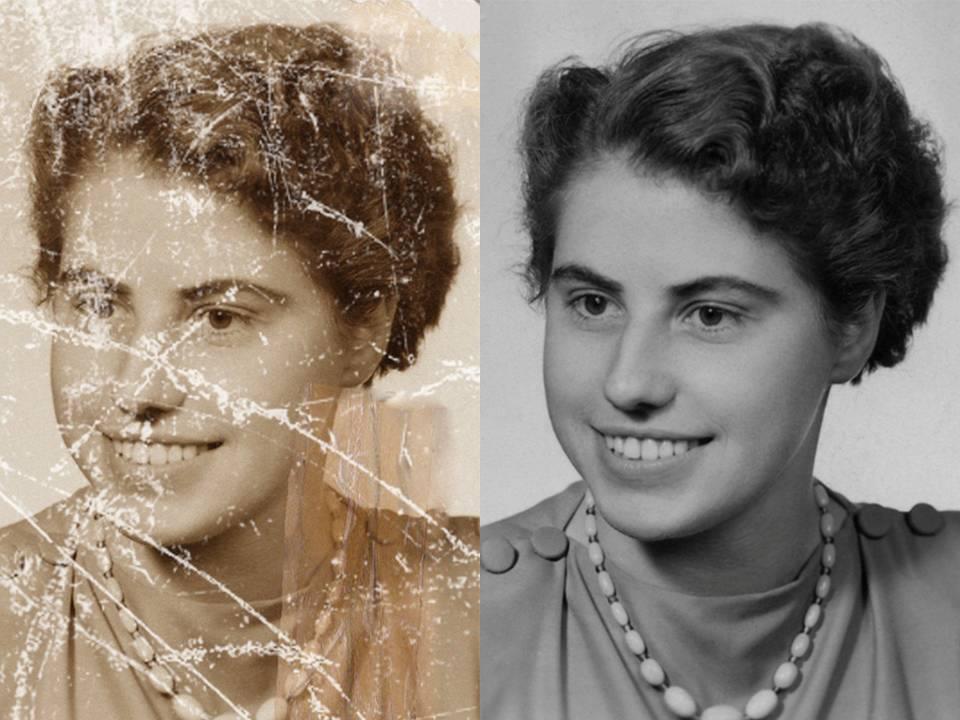
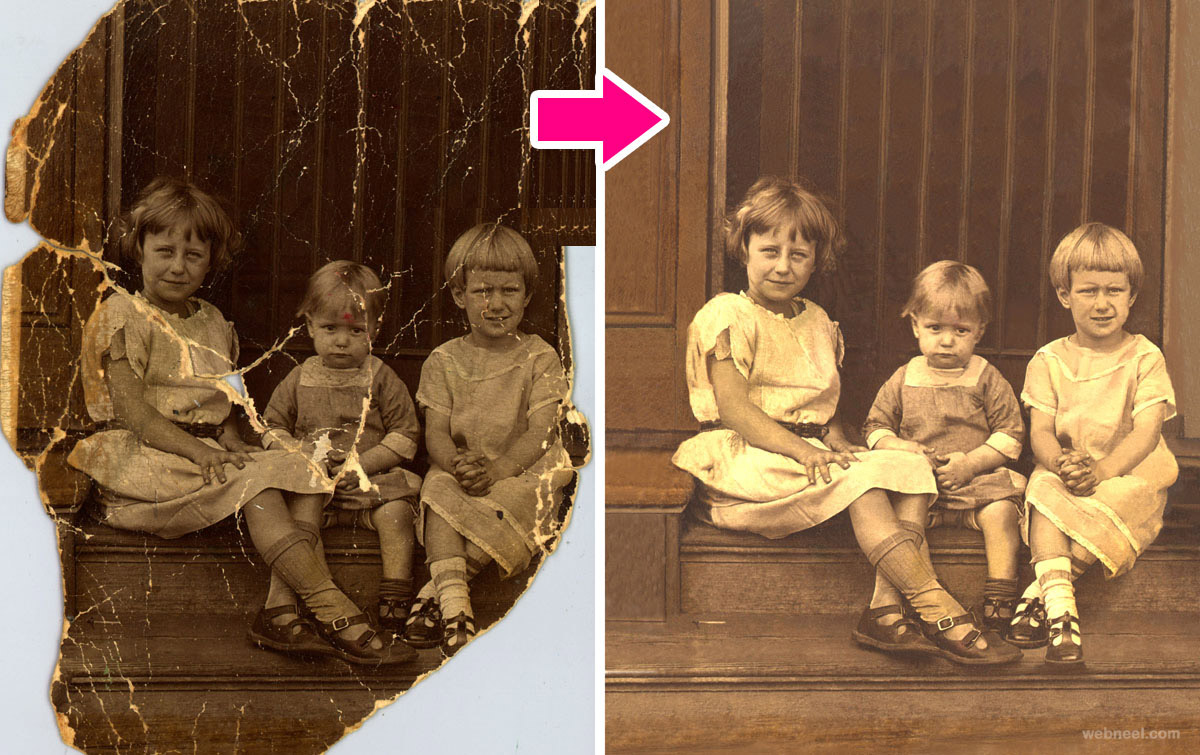
How to fix a ripped photo in Photoshop is a question we’ve all definitely asked at one point or another. Our photographs retain our cherished memories and nothing is more frustrating than seeing those memories degrade, fade or get damaged. This article is going to teach you how to make old photos look new, how to restore an old photo in Photoshop and give your ripped pictures a new life. Check out our photo restoration samples to see what drastic difference can be achieved.

The best damage photo repair in Photoshop tutorial
The best ways to avoid any damage is, of course, by making an effort to preserve your pictures. Tips on the best methods and means to save your pictures can be found in the article “Memory Remains Or How To Preserve Old Photographs”. But how to fix a ripped photo in Photoshop if it has already been spoiled?
Photoshop makes it achievable to edit your old photos in numerous manners: it is not only great retouching software for modern digital photography, but it is also an excellent tool to repair damaged photos. With the help of this damage photo repair in Photoshop tutorial you will be able to fix your photos in no time!

Step 1: Fuse the parts
1. Scan your old picture. We can take care of it even if it’s completely torn apart.
2. Upload the picture in to Photoshop.
3. Select the pieces of the picture with the help of magic wand/smart selection tool.
4. Create a copy of the Background layer.
5. Get all the parts on their own separate layers. With the help of the lasso tool cut all the pieces one by one and paste them onto new layers.

6. Finally, reassemble the photo. Use the move tool to group your pieces together. Make sure they are all in the right places and that all the objects in the photo are aligned.
Step 2: Image clean-up
Ripped pictures can look attractive- some people even use ripped effect Photoshop to give them that look. But if you are determined to learn how to restore an old photo in Photoshop, blemishes are an important thing you
need to know how to deal with.
 There are different kinds of blemishes, that need to be treated differently too. We present to you three effective Photoshop tools that will facilitate you in bringing the images together:
1. Spot-healing tool
● Double-check to see if it's set to “Content-Aware” in the tool options bar above.
● It analyzes the area around the one where you are painting, automatically identifies the best spot to sample from, which is great if you want to know how to restore an old photo in Photoshop but want to do it quickly too.
● Uses the pixel data of the spaces that doesn’t need any recovery to replace the blemish.
● Quickly removes insignificant and isolated blemishes.
2. Brush tool
● Only use it as a last resort.
● Involves stark precision.
● Use a tablet to facilitate your work.
● Add noise to create a more natural feeling.
3.Clone-stamp tool
● You choose the space that you sample from yourself which gives you greater control over the whole process.
● When cloning look out for imperfections that you may accidentally sample.
● Search for the sample that will look natural in the space you want to refine.

Step 3: Fix Discoloration
Old images tend to change colors. The perfect way to fix any discoloration is by using “Selective Color Adjustment Layer”. The advantage of this tool is that you can choose whatever color you desire and easily adjust it.
Taking this comprehensive damage photo repair in Photoshop tutorial into consideration you can fix any photo you need. You can find some amazing before and after of restored photos to get you inspired in the article “Before after childhood photos — recreate old photos professionally”. Moreover, you can not only fix the damaged pictures but also create the ripped effect Photoshop!
How to make old photos look new
This in-depth guide will teach you how to fix a photo in Photoshop in detail.
1. Collect all the parts
1. Scan your photo.
2. Duplicate all the uploaded parts with the help of the Lasso Tool one by one and paste them all to separate layers.
3. Make a background layer that will really stand out and that will make it way simpler to detect the corners of your picture — that will assist you visually with reassembling
4. Select a brush and cover up the corners of your pieces meticulously to remove torn paper.
2.Piece it together
1. Start moving the parts and do your best to make the edges coincide, but make sure that they do not overlap.
2. When you’ve already reassembled the picture, create a group. You can also make a copy of that group just to be on the safe side.
3. Fuse the parts of the group you’ve just made.

3. Blemish fix
1. Use Clone Tool.
2. Make sure not to create repetitive patterns, when cloning
3. Feel free to zoom in or change the brush size. This is a painstaking process, which requires patience.
4. If there’s some severe damage — put it away and wait till the final steps. It’s highly unlikely you’ll fix it with Clone Tool.

4. Seriously damaged parts reconstruction
1. Select the Brush Tool.
2. Start thoroughly fixing the damaged parts.
3. Try not to alter the objects’ features.
4. Save insignificant details for the following steps.

5. Fix the bends
1. Turn the picture into black and white. It’s easier to restore shades this way. You can switch right back to the original color at the end.
2. Create a copy of the layers of the picture.
3. Combine layers together.
4. Use the Color-ranging Tool to select the bends that stand out on the picture.
5. After that, choose the Feather and use the feather radius of approximately 6 pixels.

6. Use the Burn Tool. Double-check that the range is set to “midtones” and the exposure is at 24%.
7. Choose a big brush and burn those parts you’ve previously selected until they coincide with the remaining parts of the picture.
6.Tune up the face
1. Use the Lasso Tool to duplicate and paste the elements of the picture which are in no need of restoration.
2. Apply the Burn Tool to lower the shading.

7.Eliminate noise
1. Select the Reduce Noise Tool.
2. You have to be very precise not to overuse this tool — you don’t want any of the details lost as the result of your editing!
8.Cropping
1. If you crop the picture, make sure that the result is as close to the actual picture as possible.
2. Choose Spot Healing Brush. Mind that it’s not recommended using it in the early stages of photo reconstruction — it won’t be of much help.
3. Single out the spots and get rid of them.
4. Sometimes there are parts of the photo that can’t be recovered with the help of the tools mentioned earlier. In this case, if you really want to know how to fix a ripped photo in Photoshop you will have to get a hang of the Brush Tool to draw it back. Mind that you should copy the highlights and shadows from the spaces around that part to make it look natural.
9. Finishing touches
1. Choose the Spot Healing Tool.
2. Find small blemishes that require some fixing to do.
3. If needed, don't hesitate to use the Clone or Brush Tool to add some minor changes.
 Hopefully, you’ve enjoyed this damage photo repair in Photoshop tutorial. Now you are aware of how to make old photos look new! You can see that it’s a labor-intensive and time-consuming work. Check out our photo restoration prices, that will persuade you to entrust your damaged photos to us.
How to fix a photo in Photoshop with a content-aware fill?
While some people are using ripped effect Photoshop to achieve this look, some are actually trying to eliminate them and to heal their pictures. These 5 simple steps will teach you show you how to fix a photo in Photoshop in no time!

1.Be careful!
When scanning — make sure not do anything to further deteriorate the image! We can teach you how to restore an old photo in Photoshop, but if you neglect your photos, it may come to the point that they are unrestorable. Once scanned — create a different layer for each piece as we’ve already described.
2.Combine the parts
Accurately assemble the picture with the Move Tool.

3.Fix all the distortions
Put the layers together. Select the Spot Healing Brush and check “ content-aware” at the very top and use this tool to fix small spots. For bigger areas use the tools we've mentioned in the first part of our article to enhance the image
4.Corner reconstruction.
Fill the corners with the help of the Content-aware Brush. Conceal any imperfections with the Spot Healing Brush.
5.Coloring
Add a bit of noise to the picture, but not too much. Using the Black and White Adjustment Layer lower the darkness to 50%.
There a lot of photo restoration services nowadays. However, you can always trust us to retouch your faded photographs and bring your treasured pictures back to life.
Tell you friends about this article!

Would you rate the article?
The article has a rating of:
|
| Via Facebook: |
| Via Disqus: |