How to restore black and white photos in 10 steps

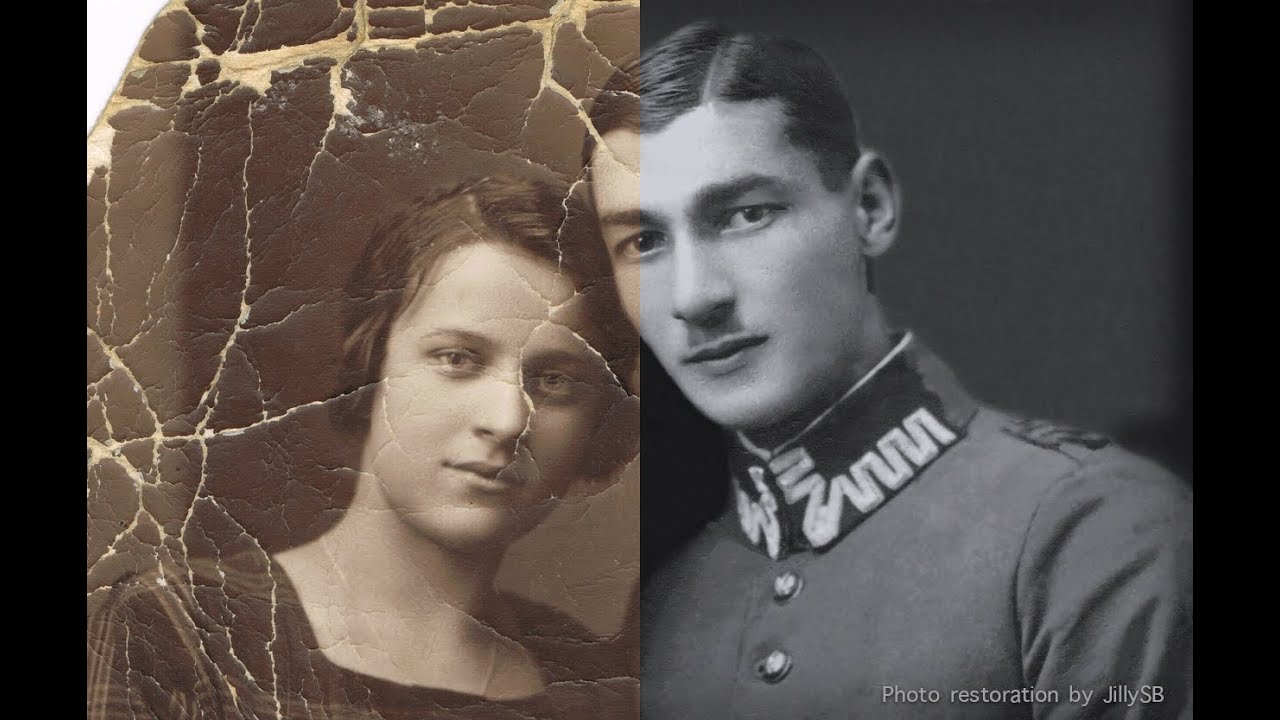
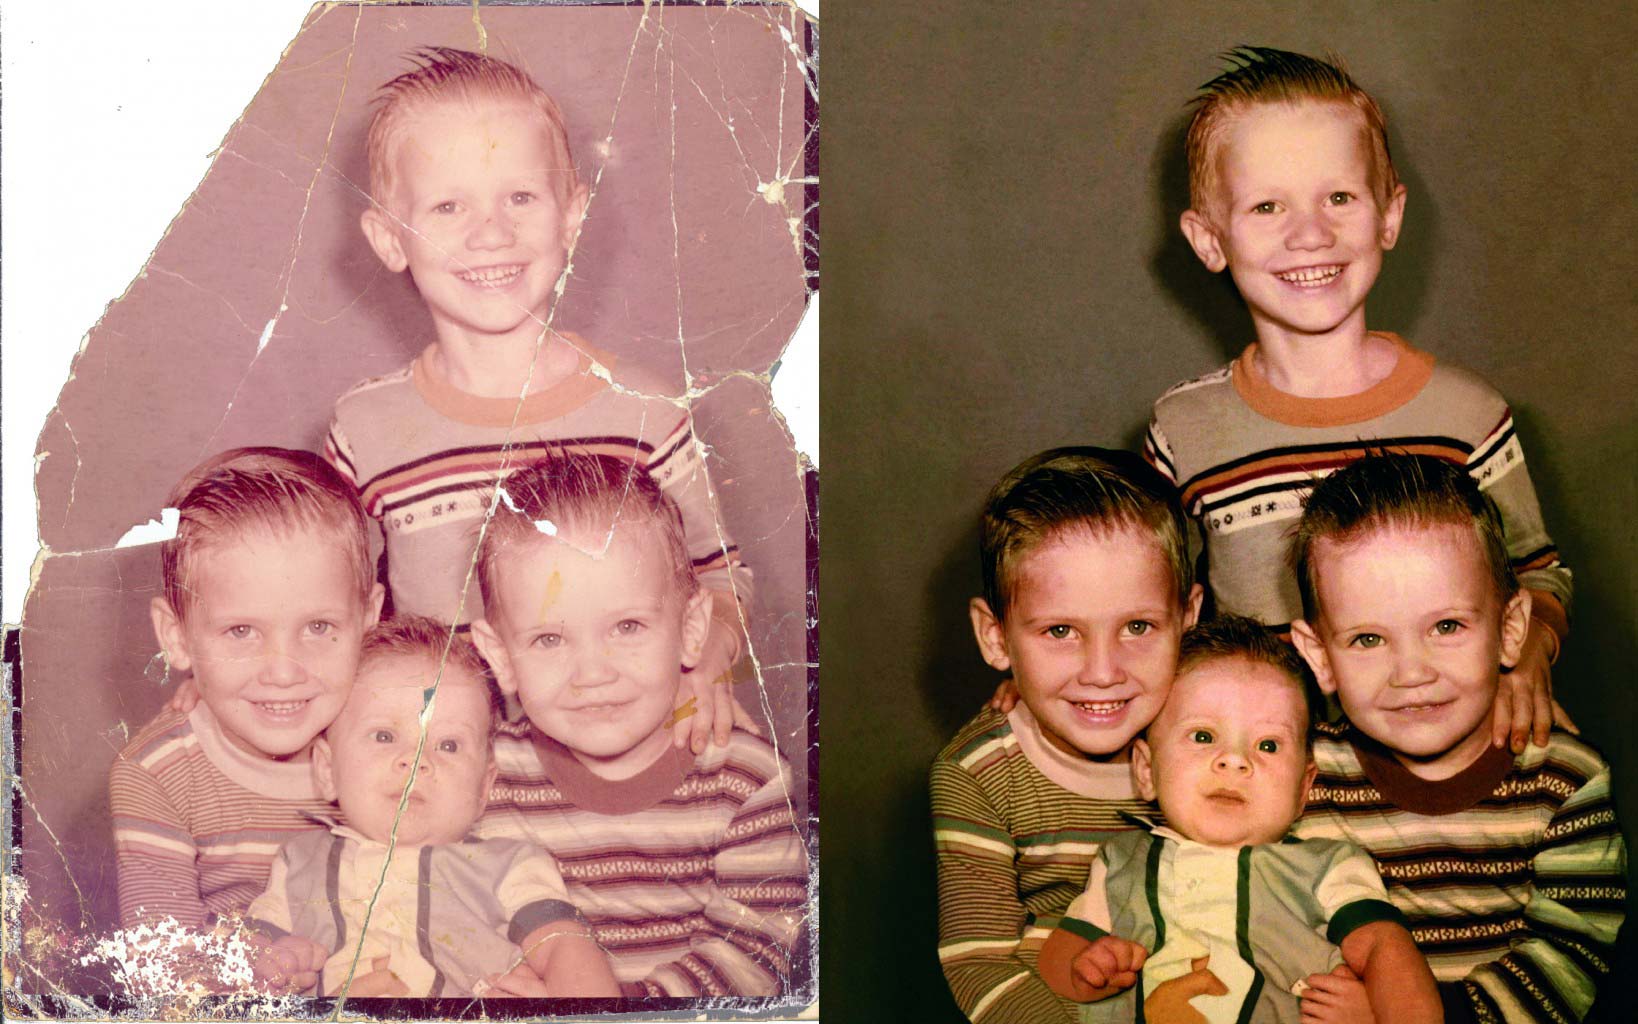
How to restore black and white photos properly? Nowadays this question is quite often asked by photo retouchers. Each image editor should know how to restore old photos in Photoshop. It is no wonder, that this service is becoming especially popular among the customers. People desire to save their priceless memories or bring them a new life. That is why the number of photo restoration services is so high today. We understand how it is important for our clients to keep the history and moreover, we aware very good how to restore old photos digitally.
As a rule the clients ask to improve or to fix damaged pictures, which are so essential for them. They take care of the history of their family and want to remember the happiest events for a long time. The time never waits for us and the only opportunity to save the most essential moments in our memory is to take a photo. But after that we have to think how to save them in the primal state.

That is why we decided to help the amateur photo retouchers with this problem. We are eager to teach you how to restore black and white photos. It goes without saying, that damaged picture editing is an important theme, which is often discussed. If you search in the internet you will find a lot of different articles and lessons, where it is shown how to restore an old photo. For instance, the article How to repair photographs in 10 steps is a useful one. But our purpose is to talk more about the process of professional old image editing. So, we offer next steps, by means of which you will get know how to restore faded color photos in Photoshop.
1.Improve composition
It is the beginning step during the editing procedure of all kinds of pictures. So, open the original photo. Firstly, make your picture retouchable, do it with pressing thumbnail on the Background layer. After that you are allowed to crop the shot and in such way you will have no troubles with an improving of the little photo parts on the edges. Choose the instrument Crop. This option is to be found in the Panel Tool. Then choose Bar and after this step go to the option Original Ratio.
 When we got the proper size of the edited image, we are to rotate it if the objects at our photo are situated wrong. For that change the position of the roller outside of the used crop panel and try to move the image. As you see, you have got a translucent edge, and you have the chance to change this later. So, press ticking or Enter, in such a way you will crop his picture.

2.Tweak contrast
Such photos lose their color and during photo editing process the professional retouchers have to know how to digitally restore old photos and especially essential is to fix this problem. So, the first step here is contrast rising. Choose the proper Layer, then go to the New Adjustment Layer, when you did it, move the dark input layer to the point 26-29.
 It will make darker the lost grey colors at the used shot. To make the picture brighter move the bright input layer to the point of about 210. And the last task here is to improvement of midtones. Do it with moving the grey cursor to 1.24. Now you aware how to restore faded color photos in Photoshop.
3.Create Smart Object
We work with the Layer 0. Click here the key combination Cmd/Ctrl+J.This helps you to create a copy of it. If you keep a duplicate of damaged image, you can contrast the origin and edited photos. Go to the Layer 0 Copy and in the panel Filter use the option Convert for Smart Filters, then Ok. In such a way the picture will be transformed to the certain number of Smart Objects. And it allows you to improve these layers at the final levels. Press Filter, then go to Noise and choose here Dust and Scratches. Make the Radius about 20 and the option Threshold to 15.
 One more essential tip here, which explains the editor how to restore black and white photos, is that a lot of scribe mark damage will be filled. But the problem is that during this type of retouching you lose also vital details at the picture. You can avoid this trouble in the Layer Panel. You need white Smart Filter layer and when you chose it, press the key-combination Cmd/Ctrl+I.

4.Dust busting
At this step it is better to see the picture in Zoom. In Tool box choose Brush option and take soft round point. Make the foreground color of the picture white and mark it with pressing black Smart Filter. After doing this you are allowed to fill the whole dust and scribe mark damage.
 This type of filters cannot fill all little dots and scrapes slovenly. It is also impossible to improve the whole little objects and spoils at the clothes elements and face skin at this level. That is why if the editor wished to get know how to restore an old photo and how to avoid thick scrapes go to the Layer Panel, after that click New and choose the tool Layer. After clicking Ok the new layer will be created, where we can cope with some big spoils at the foreground.

5.Patch the scratch
This is one of the most important steps, which deals with all kinds of damaged spots in the image. Each photo retoucher, who wants to learn everything about the theme how to restore old photos in Photoshop professionally, must know the procedure of scratch removing. In the instrument Patch choose the Option Bar.

Stay here and go to the Content-Aware. Here you have to state Very Strict in the Adaption option. Mark Sample All Layers. Press Layer 1 after that mark the place round the scratches. With the help of cursor choose the proper section. The part you selected will fill a base patch and in such a way the pixels in this area will mix with each other.
![]()
If you desire to perfect the composition of the whole details, which can be a little wrong, use the Clone Stamp instrument. Do it in Sample Current & Below panel. Press Alt to try the neighboring clear detail and pulverize to expand it around the patched section.
6.Stamp Visible
When you try to figure out how to digitally restore old photos, you must pay attention to this step. After enhancing the details click Layer Stack in the Layer of Levels Adjustment. The key combination Shift+Cmd/Ctrl+Alt+E allows you to use Stamp Visible option. This function combines the layers, which you used before. After the manipulations with the necessary objects you can replace a duplicate of the choosing on a new layer.

7.Heal out scratches
Clone Stamp is the option which is very useful here. Take a brush, the tip should be soft and round, Size 10. Press Aligned. We need Sample Current and Below to work further. Click Alt on the necessary place and pulverize to expand the area around the neighboring scrape. And to teach the amateur how to restore old photos in Photoshop in details we suggest you using of Healing Brush for changing the scrapes on closer areas.
8.Repair water damage
When the editors deal with damaged pictures, the question how to restore black and white photos is quite often to be discussed. To cope with this trouble we have to open Stamp Visible command. Use an option Polygonal Lasso. It is necessary to mark the area, which should be retouched. After that with the key combination Cmd/Ctrl+J start up the choosing onto a new layer. Click Edit, then go to the Transform and choose Flip Horizontal. Press the combination Cmd/Ctrl+T. Append a Layer Mask, disperse a dark brush to mix the edited part with the surround.
9.Reduce silvering
So, we have already fixed the scrapes with the help of Spot Healing Brush technique and Patch instrument. Now it is time to reduce silvering. First of all use Stamp Visible option one more time. Take the Burn option and choose the Midtones in the Range. After this reduce the Expose to 50%. And pulverize over the motley silver texture in the lower edge to make it firstly darker and to hide it then at all. Now you know almost the whole secrets how to restore faded color photos in Photoshop.

10.Colorize the picture
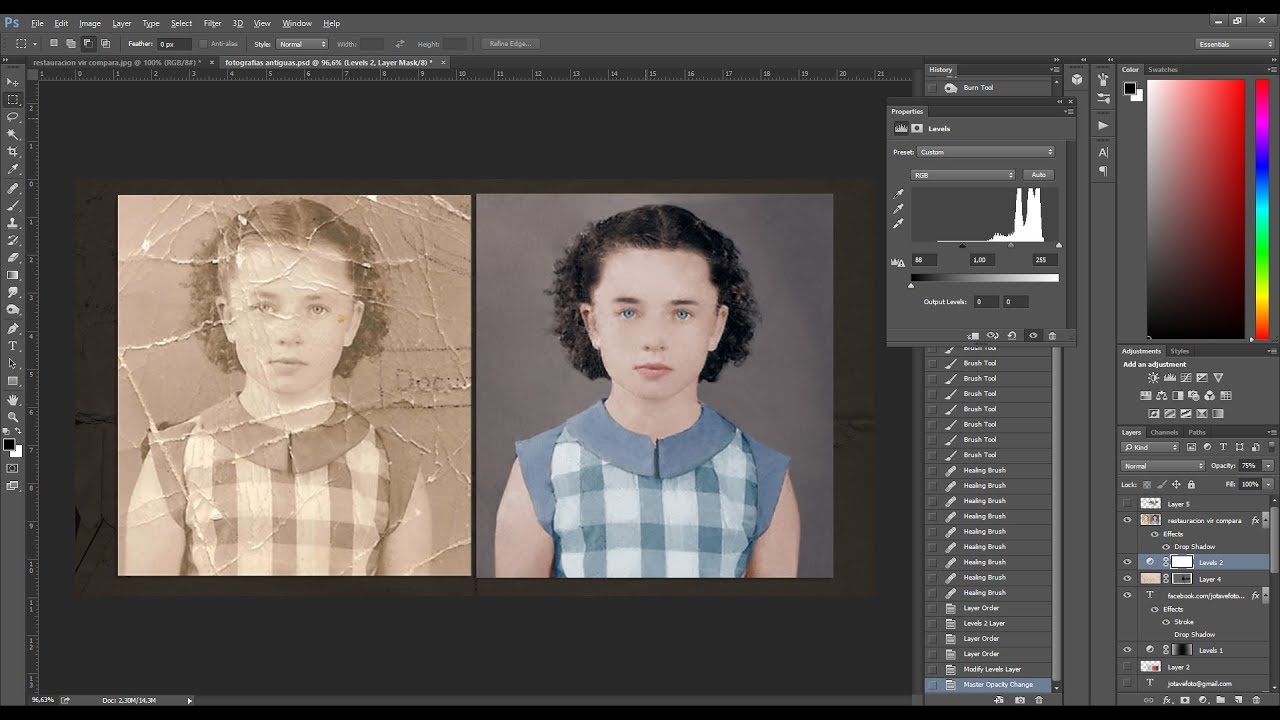
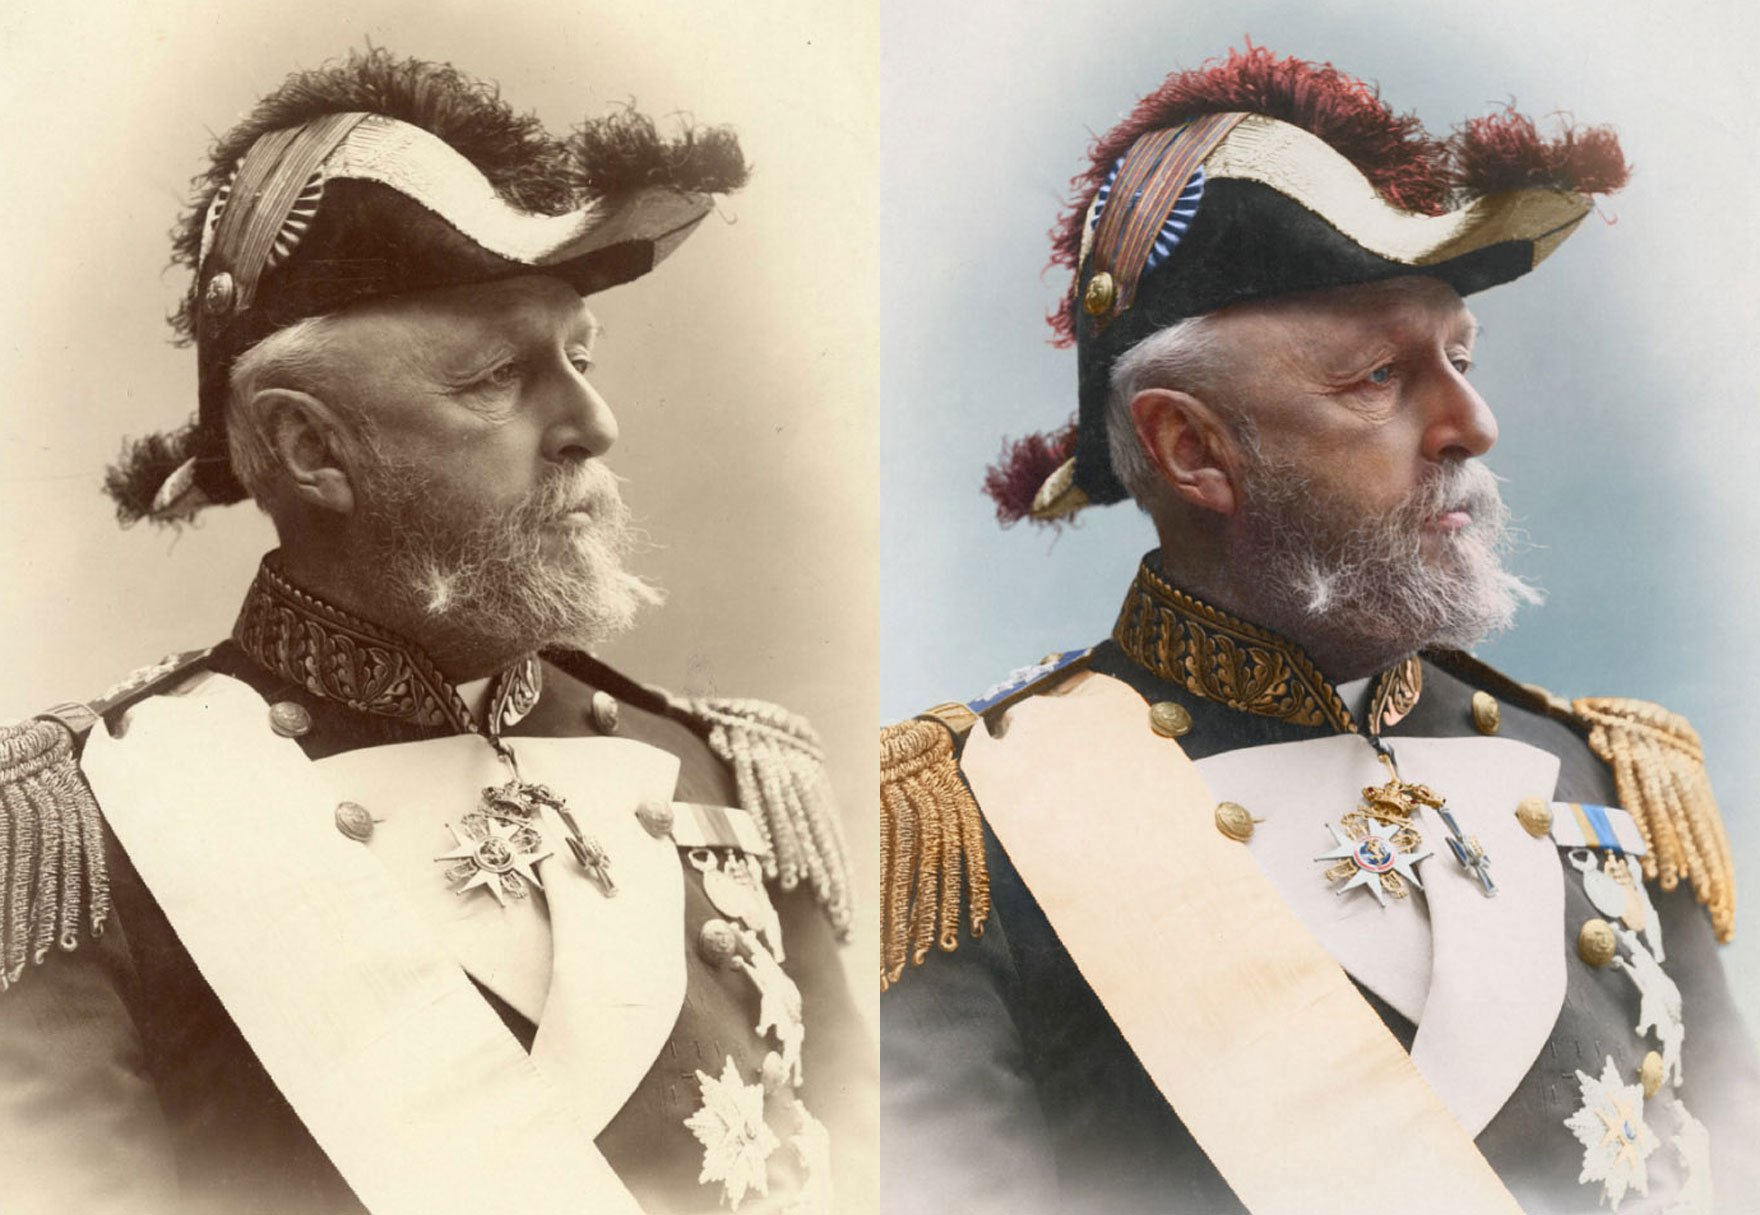
It is the last step the photo retouchers should to remember during the process of black and white photos retouching. This technique is extremely popular among the editors and when they offer the possible options how to restore an old photo, colorizing is situated on the first place. The number of ways for providing this is really great. For example in the item Let's give it a go to colorize black and white photos online with Klimbim the procedure of colorizing the black and white picture is described.
 To give the image more color, open a new Layer. Work with Layer's Blend Mode for Color and Opacity, take the Brush, a soft round edge will be the most suitable. Now we will draw the skin and face.
![]() As you see the procedure of black and white pictures restoration is difficult and the retouchters need to know perfectly how to restore old photos in Photoshop. This process demands of the editor professional skills and experience. No every photograph-amateur is capable to provide such type of image retouching. That is why our company offers its help. Our professionals are good at restoration and the photo restoration samples can easily prove it. We can renew the picture, restore the damaged or spoiled details and colorize the black and white image. Moreover the photo restoration prices we provides, allow our clients to enjoy the whole modern tricks of photo restoration.
As you see the procedure of black and white pictures restoration is difficult and the retouchters need to know perfectly how to restore old photos in Photoshop. This process demands of the editor professional skills and experience. No every photograph-amateur is capable to provide such type of image retouching. That is why our company offers its help. Our professionals are good at restoration and the photo restoration samples can easily prove it. We can renew the picture, restore the damaged or spoiled details and colorize the black and white image. Moreover the photo restoration prices we provides, allow our clients to enjoy the whole modern tricks of photo restoration.
Tell you friends about this article!

Would you rate the article?
The article has a rating of:
|
| Via Facebook: |
| Via Disqus: |